
Back when we launched our service menu, I picked makeup based on what was trending. A month later, I was restocking items that actually was not working for our clients.
That shift taught me that business buying is different. What works for everyday users isn’t always best for service providers or brand lines.
What you’ll read here comes from real usage, products tested by salon teams, brand founders, and customer feedback. No guesswork, no marketing spin.
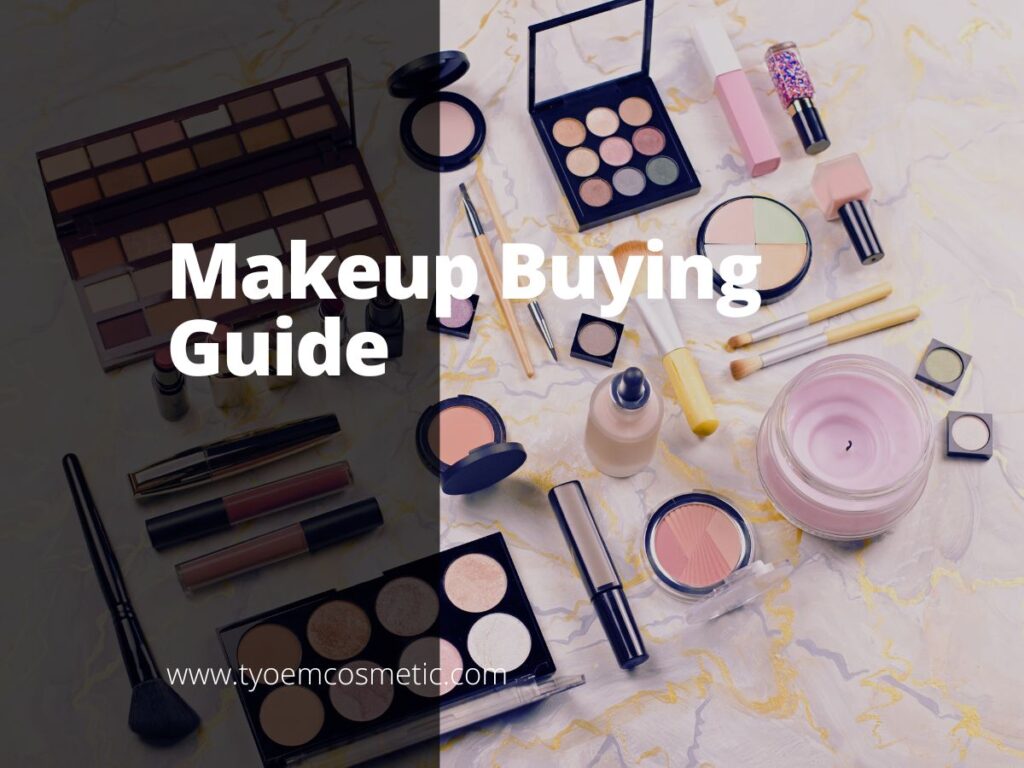
This article will help you decide what makeup to buy and why. You’ll get clear tips based on what matters to your business, your clients, your goals, and your daily use.
Let’s save time and money together.
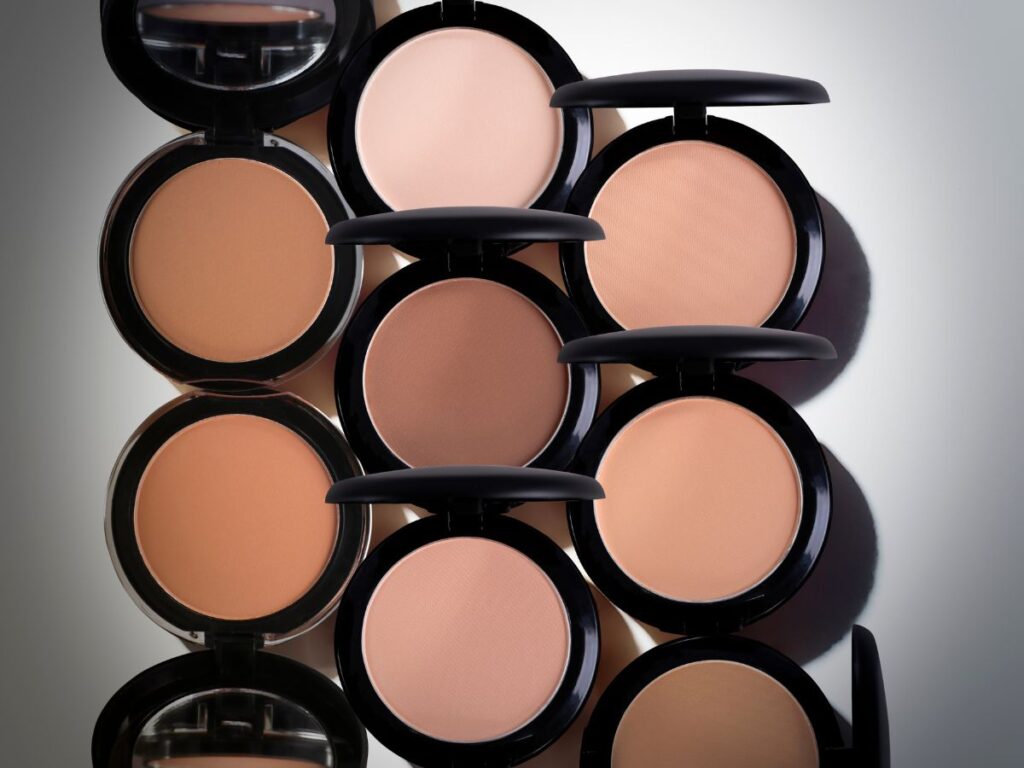
1. Makeup Classifications
I used to think all makeup was the same until I started working more closely with suppliers. If you’re running a business, it helps to understand how makeup is grouped before choosing what to stock or produce.
Makeup is generally divided into three main types:
- Foundation: This is the liquid or cream base that smooths out the skin tone. It’s often used as the first layer and sets the tone for how other products will look and last.
- Powder: Pressed, baked, or loose, powders help set makeup and reduce shine. They’re often used after foundation to hold everything in place.
- Wax Base (Lip Products): Lip gloss and lipstick fall under this group. These use waxes and oils to create texture and color payoff.
Knowing which type you’re working with helps you talk clearly with manufacturers and spot what your customers will use the most.
2. Makeup Production Flow Chart
It is easier to talk with suppliers once you know the basic flow. This process chart will help you and your team understand what happens during production, from raw material to final packagt t is to talk with suppliers once you know the basic flow. The process below will help you and your team understand what happens during production, from raw material to final packaging.

This chart gives your team a clear picture of how the process flows. It helps when working with contract manufacturers or checking product consistency.
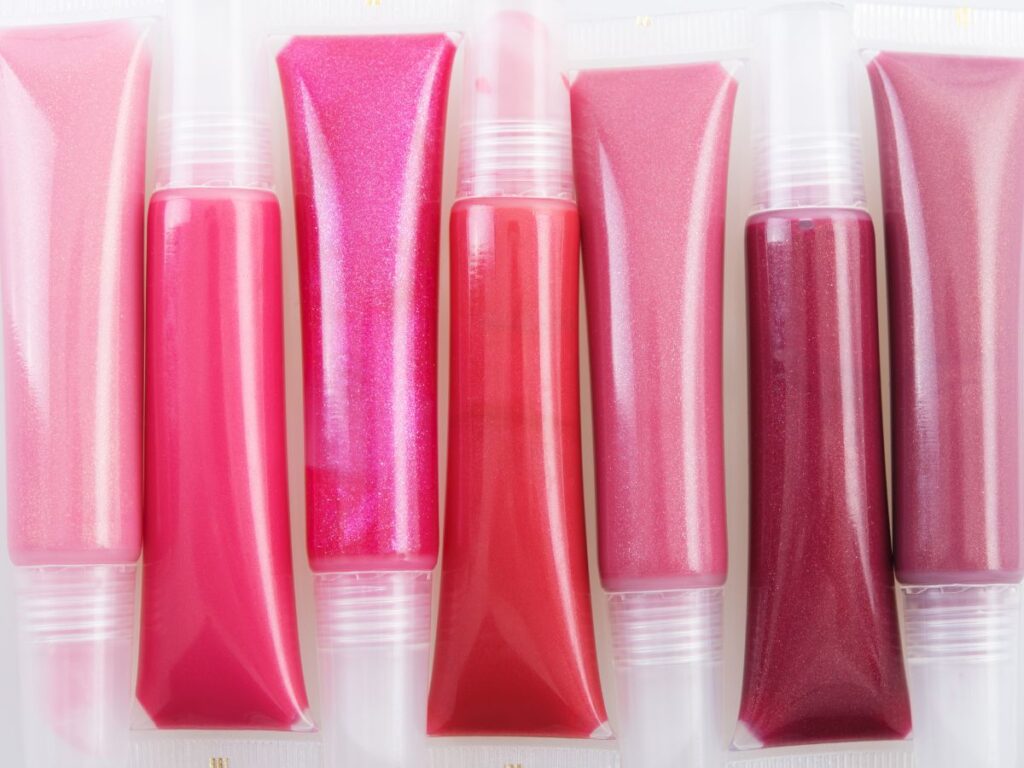
3. Lip Gloss Production Process
When I first watched a lip gloss batch being made, I was surprised by how precise, but repeatable, the steps were. If you’re planning to work with a manufacturer or build out your own line, it helps to know what each step involves.
Step#1 Heat and Stir to Blend Oils and Thickeners
The first step is heating. Oils and thickeners are added to the tank, then slowly stirred under controlled heat. This melts the ingredients and helps them blend evenly without burning.
It’s important that the heat stays steady. Too low, and the mixture stays clumpy. Too high, and some oils can lose their function or break down. This base becomes the structure for everything else added later.
Step#2 Grind the Pigment Powders
Pigment powders give lip gloss its color. These need to be ground very fine before mixing, no shortcuts here.
Large particles can cause uneven color or a gritty texture. That’s why this step usually involves machines like three-roll mills or grinders. Even if it looks like a small task, this affects both feel and color payoff.
Step#3 Add the Ground Pigment Powders and Mix Thoroughly
Once the pigments are ready, they’re slowly added into the heated base from Step #1. Mixing must be done thoroughly so the color spreads evenly.
Uneven mixing leads to streaks or shade inconsistency between batches. In some setups, this step takes the longest. Good mixers use low-to-medium speed to avoid bubbles, which can affect gloss clarity.
Step#4 Add Essential Oils or Fragrances
After pigments are mixed, now is the time to add essential oils or scent blends. These give the final product its character, whether fruity, floral, or neutral.
Fragrance levels should be measured carefully. Too much can irritate sensitive lips or clash with the user’s skincare. Some businesses also use this step to add ingredients like vitamin E or plant extracts.
Step#5 Cool the Mixture and Then Proceed With Filling
Once everything is blended, the mixture is cooled to room temperature or slightly warm. This thickens the gloss and makes it easier to fill into tubes or pots.
Cooling too fast can cause separation. Cooling too slow might delay production or change consistency. After that, filling machines portion the gloss into containers, ready for sealing, labeling, and packing.
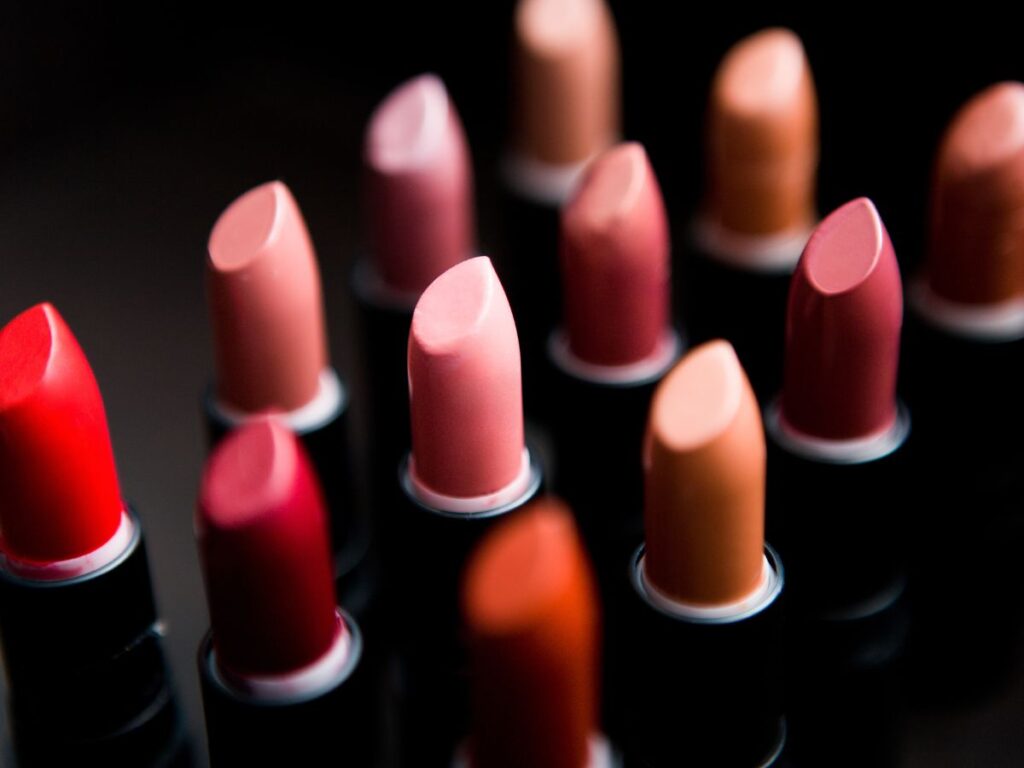
4. Lipstick Production Process
Many assume that lipstick is just wax and color mixed together, but there’s more detail behind it. If your team is looking to scale or refine your product line, this step-by-step breakdown will help you follow what’s really happening.
Step#1 Heat and Melt Oils and Waxes to Form the Base Wax
Production begins by heating and blending different oils and waxes. This forms the base structure of lipstick. The temperature and mixing time need to be just right.
Waxes help the lipstick hold its shape, while oils give it glide. If not blended well, the final stick can turn grainy or soft over time. A stable base is what holds the formula together through the rest of the steps.
Step#2 Add Oil to Color Pigments and Grind Into a Fine Texture
In a separate step, pigments are mixed with a small amount of oil. This helps break them down and prepare for smooth blending.
Next, the mix is passed through a grinder to reach a fine texture. Poor grinding leads to a rough or uneven color in the final stick. This is one of the most important quality checkpoints in the process.
Step#3 Pour the Ground Pigment Mixture Into the Base Wax and Stir
Once the pigments are ground, they’re added into the melted wax base. The mix is stirred until the color spreads evenly.
Getting this blend right affects the lipstick’s finish, how smooth it looks, and whether it’s streak-free. Some batches may take longer, depending on the pigment load. A good mix helps avoid problems during molding or cooling.
Step#4 Add Essential Oils or Fragrances
At this stage, essential oils or fragrance blends are added. These are usually the finishing touches to create the product’s scent or added care properties like vitamin E.
It’s important not to add them too early, they can break down under high heat. Adding them at the right time keeps the formula stable and effective. This step is also where brands may include signature scents or ingredients.
Step#5 Hot-Fill Into Molds at 60–90°C
The final mix is poured into metal molds while still warm, typically between 60 to 90 degrees Celsius. These molds help shape the lipstick and give it a clean edge.
The pouring must be even. If the temperature is off, the lipstick may crack or settle unevenly. Filling machines usually handle this part to keep batch consistency.
Step#6 Let It Cool and Set
Once filled, the lipstick stays in the mold to cool down and solidify. Cooling time depends on the formula and mold size.
If cooled too quickly, cracks may form. Too slowly, and the product might not hold its shape when removed. Controlled cooling helps lock in color and texture.
Step#7 Insert the Mixture into Lipstick Tubes
After setting, the lipstick is placed into its final packaging, usually a twist-up tube. This step requires care to avoid smudging or breaking the stick.
Some lines use automatic machines; others do this manually for better control. The right packaging fit also prevents movement during shipping.
Step#8 Demold the Lipstick
Finally, the lipstick is gently removed from its mold. This reveals the finished shape and texture of the product.
Any lipstick with visual flaws is usually sorted out here. A smooth finish and clean surface are signs of proper processing. After this, the product is ready for labeling, inspection, and packing.
5. Regular Powder Pressing Production Process
If you’re working with pressed powders, this is a process you’ll want to get familiar with. I’ve seen how small differences in mixing or pressing can affect texture, breakage, and finish. Understanding each step helps you better manage production or supplier quality.
Step#1 Mix and Stir the Base Materials
The process begins by combining base ingredients like mica, talcum powder, and other fillers. These provide the bulk and texture of the final powder.
The goal here is even distribution. If not mixed well, you’ll end up with patches or inconsistent texture on application. This is usually done in a dry mixer under low-speed blending.
Step#2 Add the Color Pigments and Mix
Pigments are added to the dry base and blended until the shade is uniform. Even minor clumping can lead to color streaks or spots in the pan.
Machines like ribbon mixers or paddle mixers are often used here. This step sets the color tone of your final product, so consistency matters a lot.
Step#3 Sift the Dry Powder
Once mixed, the powder goes through a sieve to remove clumps and large particles. This makes the texture finer and easier to press.
It also helps reduce air pockets later during molding. Skimping on this step can lead to uneven fill or powder that doesn’t sit well in the pan.
Step#4 Add Oil and Stir
A small amount of oil is added to bind the powder. This step is key to giving the powder some slip and staying power.
Grinding here helps break up the mix into an even, slightly damp texture. It should feel soft, not sticky.
If the mix is too wet, it won’t press well. If it is too dry, it may crack.
Step#5 Sift the Wet Powder (Inspection)
Before pressing, the wet powder is sieved again. This second round removes any last clumps and helps spot flaws before molding.
It also gives the technician a chance to check color, texture, and moisture level. This is a quick quality control checkpoint in most factories.
Step#6 Transfer the Prepared Powder Into Aluminum Pans
The sifted mixture is now placed into metal pans, these will become the final product shape.
This step needs steady filling to avoid loose edges or air gaps. If your packaging has a clear window or is refillable, clean edges matter.
Accuracy here saves time during pressing and final inspection.
Step#7 Press and Form the Powder (Using Membrane Cloth: No. 7 Cloth)
The filled pans are pressed using a membrane cloth (No. 7 is standard). This cloth protects the surface and helps shape a smooth, compact finish.
Machines apply steady force to lock the formula in place. Too little pressure, and the powder may crumble. Too much, and it becomes too hard to pick up with a brush.
Step#8 Inspection
Each pan is checked for surface cracks, color issues, or uneven texture. This step helps catch problems before packing. Sometimes batches are pulled for spot checks, or sent back if issues are found. Catching flaws early saves rework costs later.
Step#9 Pack Into the Containers
The final product is packed into its compact, palette, or refill tray. This is usually done by machine but sometimes by hand for short runs or custom orders.
Clean packaging and proper seals matter here, especially if you’re selling in retail or shipping globally. Once packed, the product moves to labeling and final QC.
6. Baked Powder Production Process
I remember the first time I tested baked powder, it had a smooth feel and strong color payoff without needing binders. If you’re thinking of adding this type to your product line, understanding how it’s made will help you choose the right partners and catch any quality slips.
Here’s how the baked powder process usually goes:
| Step | Action | Description |
| 1 | Mix and Stir the Base Materials | Blend base powders like mica and talc until smooth. This creates the bulk of the product. Even mixing here avoids texture issues later. |
| 2 | Add the Color Pigments and Mix Thoroughly | Add pigment powders to set the shade. Uniform mixing is key to avoid color streaks in the final product. |
| 3 | Sift the Dry Powder | Remove large particles or clumps. This helps get a smoother feel and avoids surface issues during shaping. |
| 4 | Add Oils and Stir Evenly | Add a small amount of oil to help the mix hold together and give it a smooth glide. The mixture should be slightly damp, not too wet. |
| 5 | Sift the Wet Powder | Sift the mixture again to catch clumps and check for even texture before shaping. Helps maintain consistent quality. |
| 6 | Inspection | Visually check texture, moisture, and color before pressing. Fix or discard batches that don’t meet standards. |
| 7 | Pour Into Aluminum Pans and Press Into Shape | Portion and gently press the mixture into pans. Proper shaping prevents breakage and uneven baking. |
| 8 | Bake at 40–60°C | Place pans in the oven and bake slowly to remove moisture. This sets the product and creates a smooth finish. |
| 9 | Cool the Product | Let products cool fully at room temperature. Prevents cracking and locks in texture. |
| 10 | Final Inspection | Check for cracks, color, and firmness. Remove any flawed pans before packing. |
| 11 | Pack Into Containers | Place finished pans into compacts or palettes. Then move to labeling, sealing, and shipment. |
Getting baked powders right depends on small but important steps. If you understand the process, you can work better with suppliers, catch early issues, and keep your product quality consistent. This is especially useful when scaling or adding baked formulas to your line.
7. Wet Powder Production Process
I’ve noticed that wet powder needs extra attention compared to other types. It’s all about getting the right texture, slightly damp, and pressable without being sticky. If you’re working with OEM partners or setting up your own process, this table helps you follow each step clearly.
| Step | Action | Description |
| 1 | Mix and Stir the Base Materials | Combine dry base ingredients like mica and talc. This forms the structure of the powder and must be evenly blended to avoid texture flaws. |
| 2 | Add the Color Pigments and Mix Thoroughly | Pigments are added to provide color. Even mixing at this stage helps prevent streaks or uneven payoff in the final product. |
| 3 | Sift the Dry Powder | Sifting removes clumps and allows a smoother texture. This step prepares the mixture for oil blending. |
| 4 | Add Oils and Stir Until Evenly Mixed | Oils help bind the powder and create a wet consistency. Mixing must be balanced, not too wet, not too dry, for clean pressing. |
| 5 | Sift the Wet Powder | This second sifting breaks up any uneven chunks and checks consistency. It’s a key point to catch any flaws early. |
| 6 | Inspection | A basic quality check is done here, looking at texture, color uniformity, and moisture. Adjustments are made before pressing if needed. |
| 7 | Pour Into Aluminum Pans and Press Into Shape | The wet powder is pressed into pans using non-woven membrane cloth. This helps form a clean surface while holding the formula in place. |
| 8 | Cool the Product | Let the pressed product cool at room temperature. This step sets the final texture and reduces the chance of cracking. |
| 9 | Final Inspection | The product is checked again for cracks, color issues, and press quality before packing. |
| 10 | Pack Into the Containers | Approved pans are placed into compacts or palettes. Once packed, the products are sealed and labeled for shipment. |
Getting wet powder right means balancing texture and moisture at every step. When done well, it creates a smooth, long-wearing finish your customers will notice. Knowing this process also helps you catch small issues early, before they turn into big production problems.
8. How to Judge the Quality of the Product
I’ve tested a lot of samples over the years, some looked great in the pan but didn’t perform well on skin. When you’re working with manufacturers or developing your own line, it’s key to know what to look for beyond just packaging.
Foundation & Powder Products
- Skin Feel: A quality formula should feel smooth, light, and comfortable. It shouldn’t feel too dry, sticky, or tight after application.
- Texture: When applied, it should blend evenly into the skin. Clumping or streaking is a sign the base or binder may be off.
- Color Saturation: The pigment should show up clearly with minimal layering. If you need to build too much to see color, it’s likely under-pigmented.
- Powder Behavior (Floating or Setting): Check whether the powder floats on the skin or sets properly. You can do this by brushing your finger lightly over the skin, good powder stays put and blends in, not dust off.
Wax-Based Products (Lipstick, Lip Gloss)
- Softness and Hardness: The product should hold its shape but not be so hard that it tugs on the skin. Too soft, and it may break or melt during storage.
- Ease of Application: The texture should glide smoothly and spread evenly. It shouldn’t drag or skip across the surface. This part is often shaped by the formula and pressing technique. At TY Cosmetic, application performance is a core focus during product development and testing.
- Color Payoff and Evenness: Look for rich, even color in one or two passes. Patchy or uneven coverage means the formula needs improvement.
- Lasting Power: A good wax base should stay put for hours without feathering, fading, or transferring too much.
- Moisturizing Effect: The product should leave lips feeling hydrated, not dry or tight. Test this over time, not just at first swipe.
- Overall Appearance: Check that the surface color is even and stable, no cracking, sweating, or separation. These signs can point to poor formulation or storage issues.
9. Traps to be Avoided When Purchasing
I’ve talked to a few business owners who rushed into deals with the wrong supplier and ended up with unusable stock or delayed launches. When you’re sourcing makeup, it’s not just about getting a good price.
Here are a few traps you should avoid before making any purchase:
- No Production Qualification: Always ask for business licenses and manufacturing certifications. If a factory can’t provide these, there’s no way to verify product safety or traceability. You could face issues with customs, safety recalls, or customer complaints later.
- “Three-None” Factories (No Brand, No Address, No License): These operations often cut corners and disappear fast. They usually offer low prices to get quick deals, but there’s no legal backing if something goes wrong. Without any official identity, there’s no way to hold them accountable.
- Unverified Small Factories: Some small-scale factories can do good work, but you should always check their setup. Do they have clean production rooms? Can they show past client work? If they seem disorganized or secretive, that’s a red flag.
- Workshops With Incomplete Equipment: Lack of proper machines usually means poor consistency and slow delivery. This also affects product safety, especially in sterilization and mixing stages. If the tools aren’t up to standard, the product likely won’t be either.
10. Industry Trend of Cosmetic Products
The makeup market is moving. What worked two years ago might not cut it today. If you’re running a brand or looking to enter production, it helps to stay in step with where demand is headed.
Here are 4 key trends shaping the future of cosmetics products right now.
Growing Demand Across Global Markets
Cosmetics are gaining popularity in both developed and developing regions. More consumers are using makeup regularly, not just for special occasions but as part of their daily routine. That’s opened up more room for businesses of all sizes to grow.
Local and niche brands are finding loyal markets through online sales. It’s not just about scale, it’s about finding the right group and serving them well. For suppliers and brand owners, this means opportunity is wide open.
Shift Toward Clean and Ingredient-Focused Formulas
Customers are paying more attention to what goes into their makeup. Ingredients like hyaluronic acid, niacinamide, and plant oils are now common even in color cosmetics.
Many buyers, especially younger ones, read the labels. They want transparency, gentle formulas, and fewer additives.
This is pushing both small and large manufacturers to rethink their materials. If you’re starting out, using clean, recognizable ingredients can help you stand out.
Rise of Customization and Small-Batch Runs
More brands are asking for flexible MOQs and product lines that can change quickly with trends. It’s no longer just about mass production.
This has led to demand for small-batch capability and faster development timelines. If you’re a salon, spa, or new label, this trend gives you more control and less risk when trying new ideas.
TY Cosmetic supports this shift by offering OEM/ODM services built for both custom and small-batch production needs. Working with agile manufacturers can give your business a head start.
Online Sales and Content-Driven Growth
Social media and e-commerce platforms continue to drive demand. Products that show well on camera or respond to trends often sell faster, even without traditional advertising.
Short-form videos, user reviews, and before-and-after photos all play a role in building trust. For B2B players, this means thinking about how your products will look online and how fast you can restock a viral item.
11. Frequently Asked Questions
- What Cosmetics Products Can Your Factory Produce?
Factories with full capabilities can usually make base makeup, powders (like blush, eyeshadow, and highlighter), and wax-based items (like lipsticks and glosses). Some also offer shadow palettes, eyebrow powders, and specialty textures. Ask for a full product list upfront so you know what’s possible within one production line.
- What Is the MOQ for Makeup Products?
The standard minimum order quantity is usually around 10,000 to 12,000 pieces per item. Some factories may be flexible, especially during sample runs or when using shared packaging. It’s important to confirm this early to avoid misalignment during costing.
- How Long Is the Production Cycle?
Once packaging is confirmed, filling and assembly typically take 7 to 15 days. The full packaging production can take 30 to 50 days, depending on treatments like hot stamping or electroplating. Always add buffer time to account for delays in custom parts or surface finishes.
- Can I Customize Colors and Fragrances?
Yes. Many factories accept both visual and physical references to match your target shades. They also allow custom fragrance blends, based on country preferences or seasonal trends. Be sure to finalize these details before sampling begins.
- What Is the Shelf Life of General Makeup?
Most makeup products have a standard shelf life of three years. This applies to both powders and wax-based formulas when stored correctly. Make sure shelf life testing is part of your pre-launch checklist
Conclusion
Back then, I restocked based on trial and error. Now, I work smarter. You’ve seen how makeup is made, what to look for, and what traps to avoid. This guide connects the big picture with the small steps that matter.
Every choice, from base formulas to packaging, can shape your brand’s success.
Use what you’ve learned here to ask better questions and choose better partners.
Ready to create products with confidence?
Contact us today at TY Cosmetic, your go-to OEM and ODM manufacturer for quality, reliability, and real support.
More Guides and Tips to Explore
Want to learn more? Here are some articles filled with valuable tips and information to guide you further:
Still haven’t found what you’re looking for? Don’t hesitate to contact us. We’re available around the clock to assist you.