
The first time I tried scaling up lip balm production, I ended up with hundreds of leaky tubes. It was a nightmare.
So, I spent years visiting factories, talking with line supervisors, and digging through production logs just to figure out what went wrong.
I’ve helped many cosmetic brands get their lip balm lines running smoothly by catching these issues early.
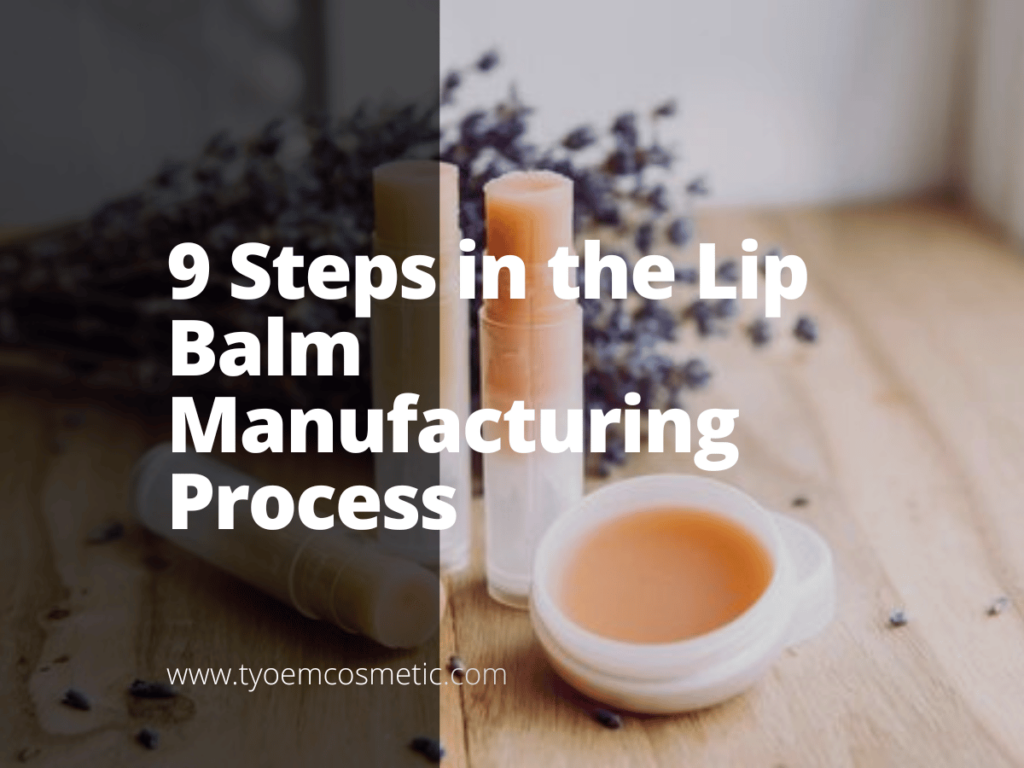
In this guide, I’ll show you the 9 main steps in making lip balm, from early planning all the way to final packing.
Trust me, knowing this process saves your business from big setbacks.
Let’s dive in!
Quick Guide
Take a moment to scan this table for a bird’s-eye view. It’ll set the stage before we get into all the rich details later.
| Step | What To Do |
| 1. Prepare the Formulation | Decide the balm’s main benefit, texture, key actives, shelf life, and target market. |
| 2. Inspect Raw Materials | Check COAs, lot codes, expiry, appearance, weigh right, and run quick tests. |
| 3. Melting and Mixing | Heat slowly, stir steady, check lumps, add gradually, and record everything. |
| 4. Add Actives & Flavors | Cool slightly, add carefully, watch for changes, blend gently, and sample aroma. |
| 5. Deaeration | Run vacuum slowly, hold temp, look for bubbles, and prep fillers. |
| 6. Hot Filling | Check fill temp, test a few, fill steadily, and clean nozzles. |
| 7. Cooling & Solidification | Cool evenly, avoid drafts, check tops, cut samples, and document times. |
| 8. Capping & Packaging | Secure caps, label straight, watch bubbles, group by lot, and pack clean. |
| 9. QC & Shipping | Inspect samples, slice sticks, check codes, use strong pallets, and log loads. |
With the roadmap in front of you, let’s jump into the details and make sure your next run goes off without a hitch.
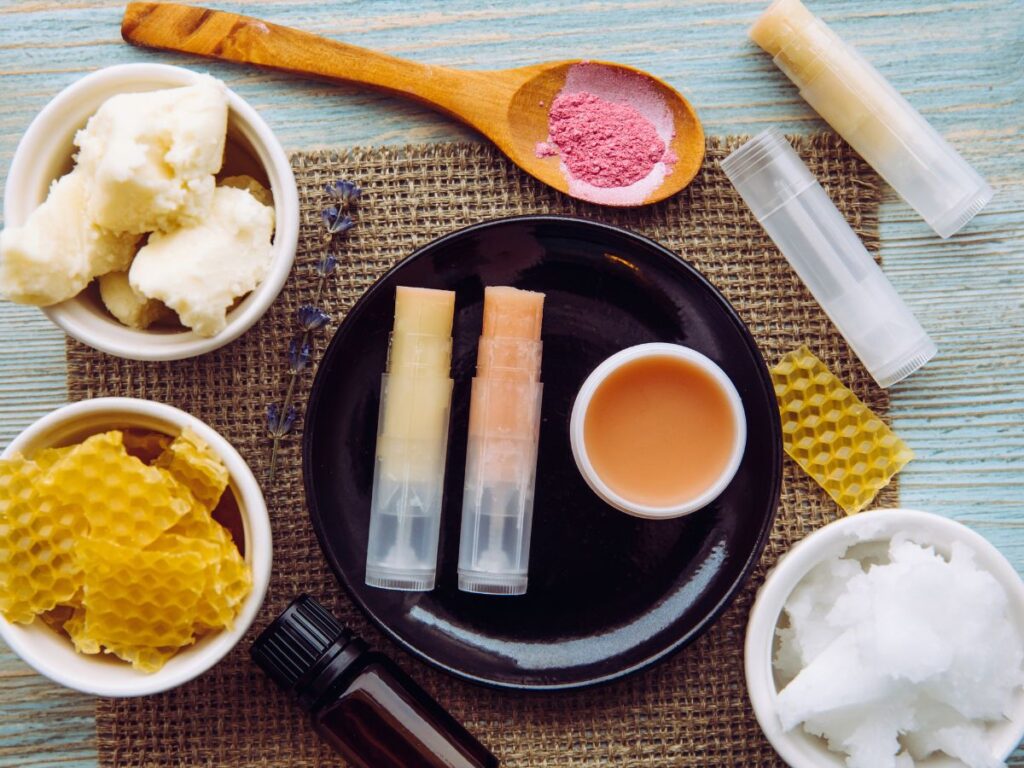
Step#1 Prepare the Formulation
Before you order raw materials or run a pilot, lock in what your lip balm needs to be. I’ve seen brands skip this and pay for it with costly reworks.
Set Your Formula Goals
- Pick The Main Benefit: Decide if it’s for moisture, sun protection, or a hint of color. One focus keeps your formula tight and costs under control.
- Choose The Texture Early: Should it feel buttery, firm, or slick? That choice drives your wax-to-oil ratio right from the start.
- Limit Your Actives: Stick to two or three standout ingredients like shea butter or SPF. Too many can mess up stability and shorten shelf life.
- Plan Shelf Life Upfront: If it might sit in stores a long time, add antioxidants. That helps keep oils from turning rancid.
- Know Who Will Buy It: Salons want luxury feel, drugstores need simpler, cheaper options. Locking this down shapes every next decision.
Fit It To Climate
- Adjust For Heat: Use more wax for hot markets. That stops it from melting in displays or pockets.
- Soften For Cold: More oils make it glide on easily even in winter. Nobody likes dragging a hard stick over cracked lips.
- Match The Packaging: Tubes, pots, or slim sticks each call for different firmness. Pick this early, so your lab trials match real use.
- Plan For Long Shelf Time: Some balms wait months before they’re sold. Stable fats keep them looking fresh.
- Balance The Budget: Each tweak hits your price. Decide now if it’s a premium balm or an everyday buy so surprises don’t pop up later.
Step#2 Inspect Raw Materials
Before anything goes in the kettle, make sure your ingredients are up to spec. I’ve worked too many batches fail just because raw materials weren’t checked properly.
Check Certificates & Specs
- Review COAs Carefully: Always get Certificates of Analysis from your suppliers. They prove your oils, waxes, and actives meet quality and safety standards. TY Cosmetic makes this a standard practice, giving you documented proof that builds confidence with regulators, retailers, and your customers.
- Look At Lot Numbers: Match lot codes to paperwork before unloading. This tracks exactly what went into your batch if problems pop up later.
- Verify Physical Traits: Check color, smell, and feel of key materials. I’ve rejected shipments just because the wax smelled off.
- Double-Check Expiry Dates: Old oils can go rancid fast. Using them means shorter shelf life for your balm.
- Keep Good Records: File all these checks by batch number. It’s a lifesaver if there’s ever a recall or quality claim.
Test Before Mixing
- Run Quick In-House Checks: Simple tests like melting point or odor checks can catch bad lots early. It only takes minutes and can save you thousands.
- Weigh Accurately: Use calibrated scales for every single ingredient. I’ve watched sloppy weighing throw off whole batches.
- Watch For Contamination: Look for any dirt, water, or foreign bits. Even a small speck can ruin consistency or clog a filler.
- Confirm Storage Conditions: Make sure oils and flavors are kept cool and sealed tight. Bad storage at your plant or the supplier’s can sneak in problems.
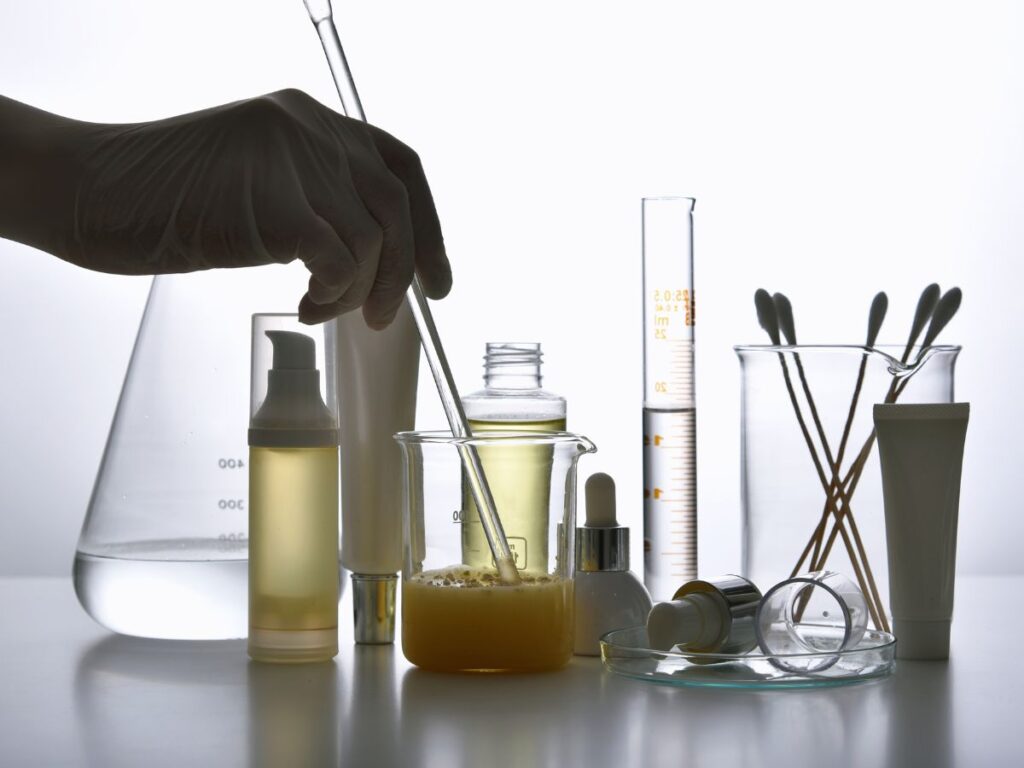
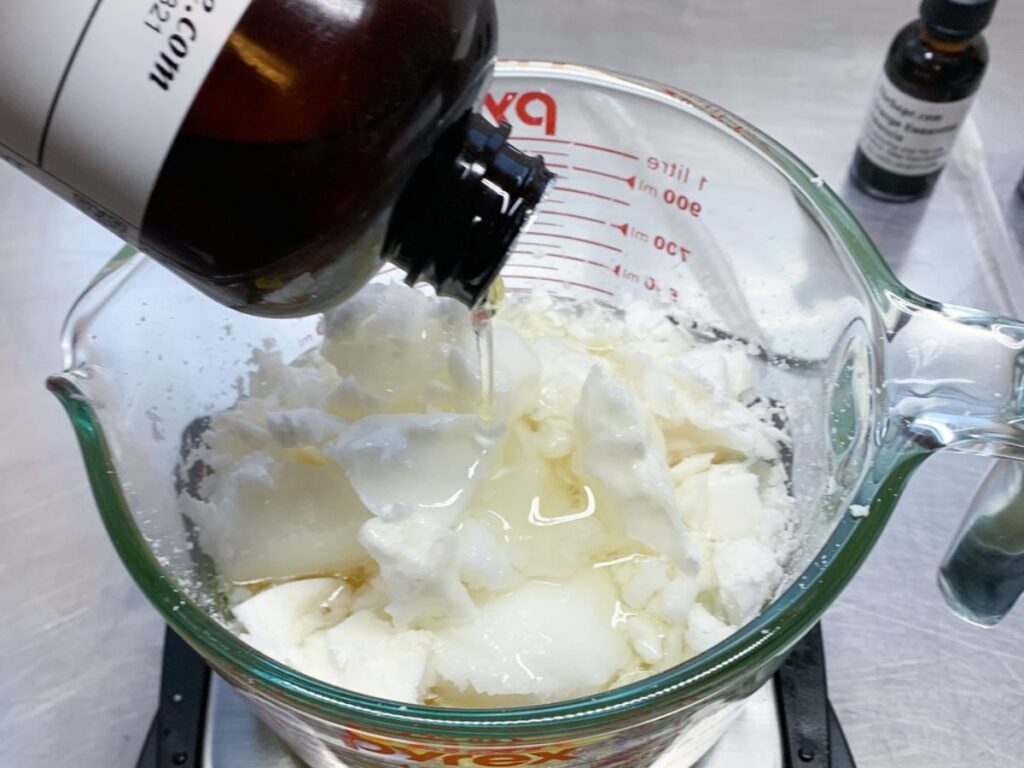
Step#3 Melting and Mixing
Now it’s time to actually build your lip balm base. This is where all that planning starts turning into something real in the tank.
Melt Your Base Right
- Heat Slowly And Even: Raise the temperature in steps, not all at once. That keeps delicate oils from breaking down.
- Stay In Target Range: Watch your thermometer closely. Too hot can scorch waxes, too cool and nothing blends properly.
- Keep It Moving: Run the mixer while heating so heavier parts don’t sink. I’ve stood over plenty of tanks scraping sides to keep it uniform.
- Check For Lumps: Look closely as it melts. Unmelted chunks can cause grainy texture later.
- Record Everything: Note temps and times. Good records protect you if issues pop up in future runs.
Blend To A Smooth Base
- Add Ingredients Gradually: Pour in oils and additives a bit at a time. This stops sudden cool spots or clumping.
- Watch Viscosity As You Mix: Keep an eye on thickness with a dip stick or small sample. It tells you if your ratio is holding up.
- Look At Color And Clarity: A uniform look means your mix is solid. Cloudy streaks can mean poor blending.
- Use Right Speed: Follow what your batch sheet says for RPMs. Too fast can whip in air, too slow doesn’t combine well.
- Jot Down Settings: Write down mixer speeds and how long you run it. It’s the only way to repeat success next batch.
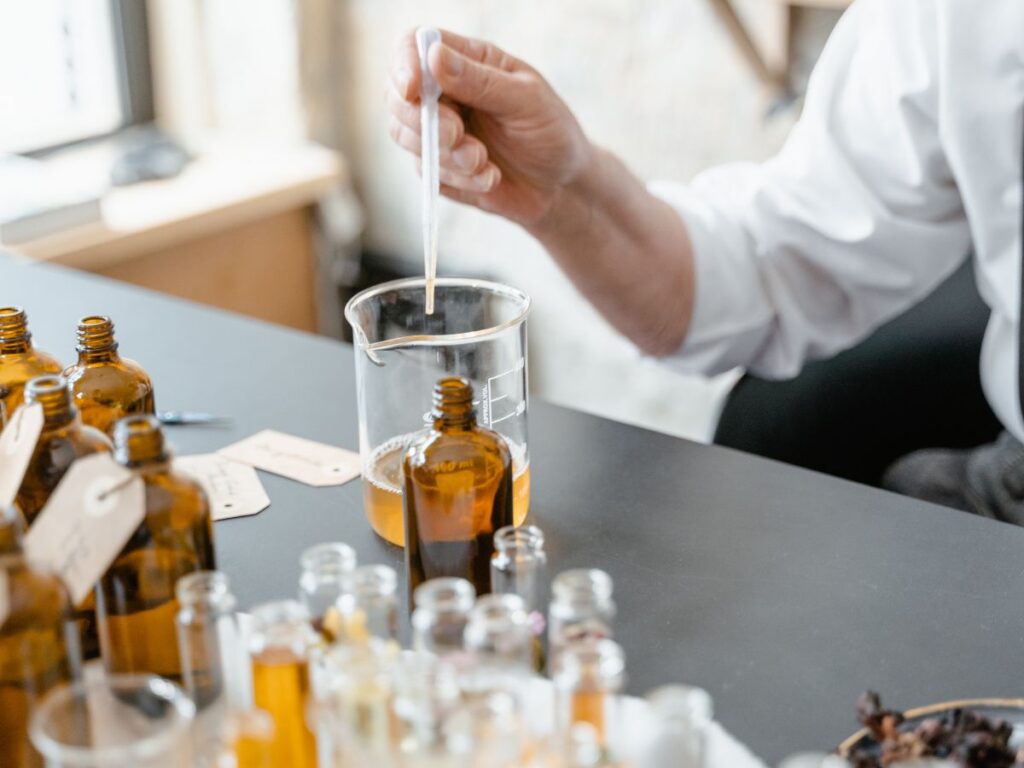
Step#4 Addition of Active Ingredients & Flavors
This is where you drop in the things that give your lip balm real value like SPF, botanicals, or signature scents. I’ve seen more mistakes here than almost any other step.
Handle Sensitive Actives
- Cool It Down Slightly: Drop the temp a bit before adding heat-sensitive ingredients. That keeps vitamins and botanicals from degrading.
- Add Slowly And Stir: Pour in small amounts with the mixer running. This stops them from clumping or sinking.
- Watch For Color Changes: Some actives react with heat or fats. A sudden dark streak is your cue to pause and check.
- Confirm Dosage Exactly: Use a calibrated scale or pipette. Over-adding can change texture or break safety limits.
- Keep Notes On Lots: Always write down which batch of active you used. If a supplier changes something, you’ll know what run to check.
Balance The Flavors Right
- Add At The End: Flavors and essential oils go in last. High heat burns off aroma fast.
- Test With A Small Scoop: I always pull a little and let it cool. Smell and taste to see if it matches your brand’s target.
- Mix Well But Gently: Blend just enough to spread flavor evenly. Over-mixing can flash off lighter notes.
- Keep A Retain Sample: Store a small jar from each batch. If customers complain about taste later, you’ll have proof of what went in.
Step#5 Deaeration
Once you’ve blended in your actives and flavors, your lip balm mix still holds tiny air pockets. This step clears them out so you get a smooth, bubble-free fill.
Remove Trapped Air
- Use A Vacuum Tank: Pulling vacuum draws out hidden air. I know that skips here lead to spongy, weak sticks later.
- Watch The Pressure Closely: Too high can pull out volatiles like scent or actives. Keep it within your spec range.
- Cycle It Slowly: A gentle ramp up and down works best. Quick pulls can make your batch foam over.
- Look For Surface Bubbles: Keep an eye on the top. Clear, still surfaces mean you’ve done it right.
- Jot Down Vacuum Settings: Record how long and how strong each pull is. That way your next batch stays consistent.
Prepare For A Clean Fill
- Hold At Temp: Keep it warm enough to stay pourable. Cooling too early means lumps at the bottom.
- Stir Gently If Needed: A slow spin stops heavy bits from settling. I’ve stood there plenty of times doing light paddles to keep things uniform.
- Run A Quick Dip Check: Pull a spoonful, let it cool, and slice it. No holes inside means you’re ready to fill.
- Line Up Fillers: Make sure machines or manual tools are ready. Any delay now can drop your temp fast.
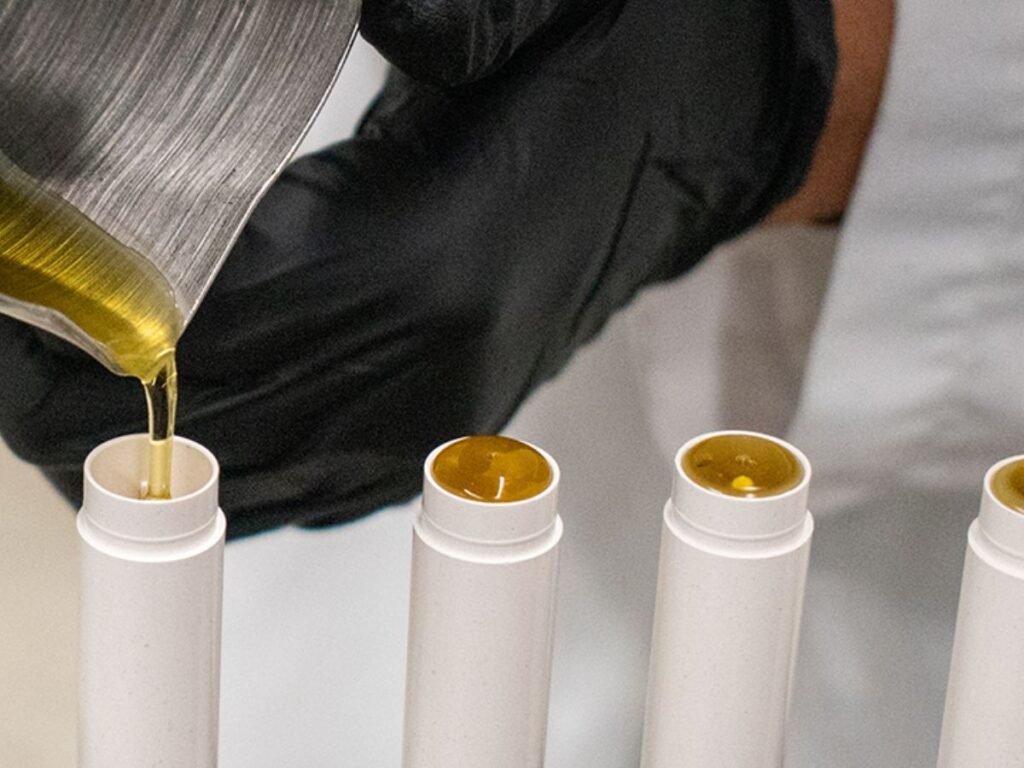
Step#6 Hot Filling
Now that your batch is bubble-free and held at the right temp, it’s time to fill. This is where all that careful prep pays off and starts looking like finished lip balm.
Get Your Fill Right
- Check Fill Temp: Make sure it’s still warm enough to flow smoothly. Too cool and it can lump or leave voids.
- Run A Small Test Fill: Pour a few to see how it sets. I always do this so I can tweak speed or temp before running hundreds.
- Use Consistent Flow: Keep a steady pace on the filler. Stops and starts can cause sunken centers or lines.
- Watch For Drips: Clean the nozzles often. Dried drops will leave ugly spots on your tubes.
- Fill To The Mark: Don’t overfill trying to “top off.” It risks spillover once it cools and shrinks slightly.
Keep It Moving
- Work In Batches: If it’s manual, fill a few trays at a time. It keeps the mix hot enough and avoids clogging.
- Monitor Machine Settings: For automated lines, log your pump speed and pressures. Small tweaks make big differences here.
- Check Each Run: I stand right by the line at first, popping up a tube to see how it’s cooling inside.
- Keep Surfaces Clean: Wipe spills right away. Hardened balm on guides can scratch or dent soft tubes.
Step#7 Cooling & Solidification
Once your lip balms are filled, they need to be set up right. This step is all about letting them cool so they hold shape and don’t crack or sink later.
Let It Cool Evenly
- Use Room Or Tunnel Cooling: Place trays on racks or run them through a cooling tunnel. This controls speed so the balm sets uniform.
- Avoid Drafts Or Fans: Too much air movement can chill the outside fast and leave the center soft. I’ve watched this cause hollow sticks more than once.
- Check Top Surfaces: Look for dips or waves as they harden. A smooth top means your fill temp and cooling speed matched well.
- Leave Enough Time: Rushing this step can mean soft cores. Always wait for the center to match the edges in temp.
Watch For Defects
- Test A Few Early: Pop out a couple and cut them open. No holes or gaps inside means your cooling was on point.
- Look At Color Changes: Uneven color might show poor mixing or cooling too fast. I’ve spotted issues here that saved whole runs.
- Keep Work Areas Clean: Balms are still tacky when warm. Dust or stray bits can stick and ruin your finish.
- Document Cooling Times: Write down how long each batch took to set. It’s gold for troubleshooting or repeats later.
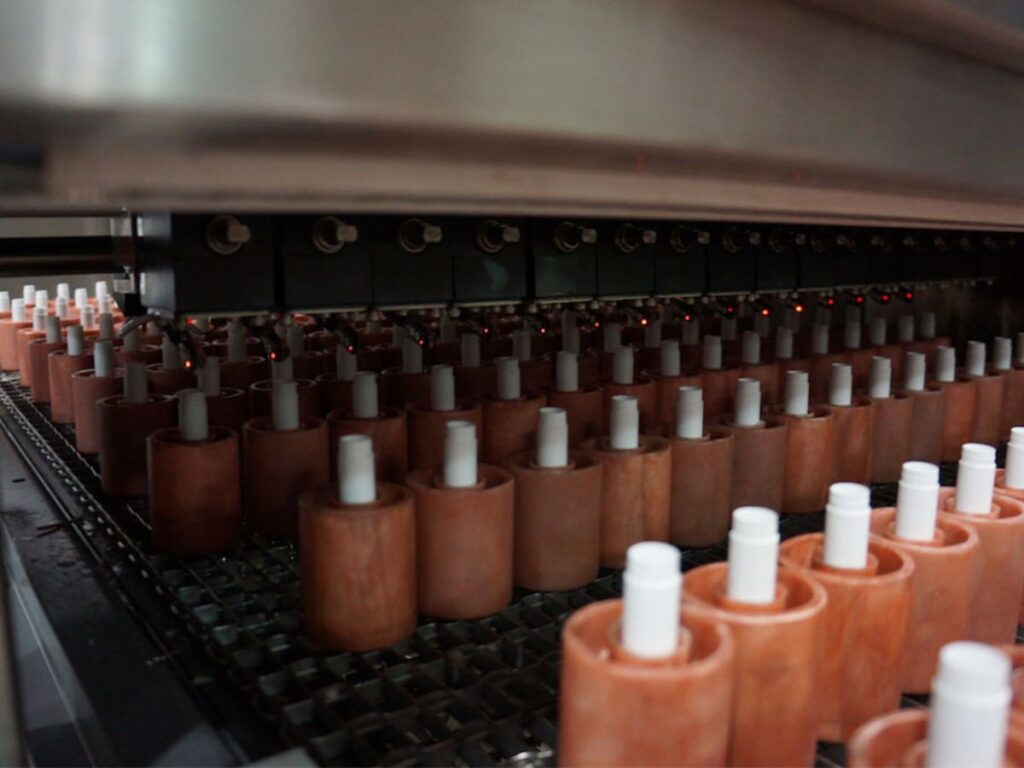
Step#8 Capping, Labeling & Packaging
Now that your lip balms are fully set, it’s time to cap, label, and pack them. This step turns them from plain sticks into a product ready for shelves.
Secure Each Cap
- Check Fit Before Running: Make sure caps snap or twist on clean. A loose cap can pop off during shipping.
- Use Consistent Pressure: If you’re using an automatic capper, dial it in so it’s snug but not crushing the tube. I’ve seen warped sticks from over-tight machines.
- Spot Check Lines: Pull samples every so often. A quick tug shows if caps are holding like they should.
- Keep Hoppers Clean: Dust or stray bits inside cap feeders can scratch your fresh balms. It’s an easy way to ruin good batches.
Label And Pack Right
- Set Up Labels Straight: Crooked labels look sloppy on retail shelves. Run slow at first to dial in placement.
- Watch For Bubbling: Labels can trap air, especially on round tubes. I press down a few by hand to be sure. TY Cosmetic takes this seriously too, using careful application methods that keep your products looking flawless on the shelf and strengthen your brand’s professional image.
- Group By Lot Code: Always pack by production lot. If something goes wrong later, you’ll know exactly which boxes to trace.
- Protect During Boxing: Use trays or dividers so caps don’t get scratched. A scuffed cap cheapens your brand fast.
- Log Pack Details: Note label settings, lot numbers, and packaging counts. That record saves you if a distributor ever questions an order.
Step#9 Final Quality Control & Shipping
Once your lip balms are boxed up, you’re not quite done. This last step makes sure what goes out the door truly meets your standards.
Do The Final QC
- Inspect Random Units: Pull samples from different boxes and check them from top to bottom. I look for things like label alignment, cap tightness, and smooth finishes.
- Cut Some Open: Slice a few sticks in half. You’ll catch hidden voids or uneven color that might’ve slipped through.
- Verify Lot Codes: Make sure every pack has the right date and lot print. It protects you if customers ever call with a problem.
- Check Outer Cartons: Beat-up cases or wrong markings slow down distributors. A quick once-over now avoids phone calls later.
- Keep A Retain Sample: Store a few finished pieces from each lot. It’s your safety net if complaints come months down the road.
Prep To Ship Out
- Use Sturdy Pallets: Stack boxes neatly and shrink wrap them tightly. I’ve seen loads tip in trucks just from sloppy packing.
- Label Pallets Clearly: Big, easy-to-read labels help your warehouse and distributors track orders fast.
- Get Paperwork Right: Include packing lists and invoices. Clean paperwork speeds up customs or warehouse checks.
- Book Reliable Transport: Work with carriers who know how to handle cosmetic goods. Heat or rough handling can ruin weeks of work.
- Log Everything: Note who picked up the load, when, and where it’s headed. If problems pop up, you’ll know exactly where to start looking.
Conclusion
Remember my first run with lip balms? Hundreds of leaky tubes taught me these 9 steps the hard way.
Now you’ve got a clear roadmap, from planning your formula to boxing up perfect batches.
Each step matters, skip one and you risk waste, recalls, or upset buyers.
Want a partner who’s been through it all?
Contact us today! TY Cosmetic is ready to help you scale smart.