

Have you ever pondered how a high-quality body lotion comes to life? It’s a complex blend of science, skill, and a keen eye for detail, turning basic ingredients into a luxurious skincare essential.
With my extensive background in cosmetic science and product development, I offer insights grounded in years of experience. This expertise is key to understanding the intricate process of crafting high-quality body lotions.
The body lotion manufacturing process is an intricate blend of art and science. It requires a balance of technical know-how and creative flair to produce a product that’s both effective and appealing.
In this guide, you’ll be introduced to the ten essential steps of body lotion production. We’ll cover everything from ingredient preparation to storage and distribution that make a lotion stand out on the shelves.
Read on to learn the essentials of body lotion production.
Step#1 Ingredient Preparation
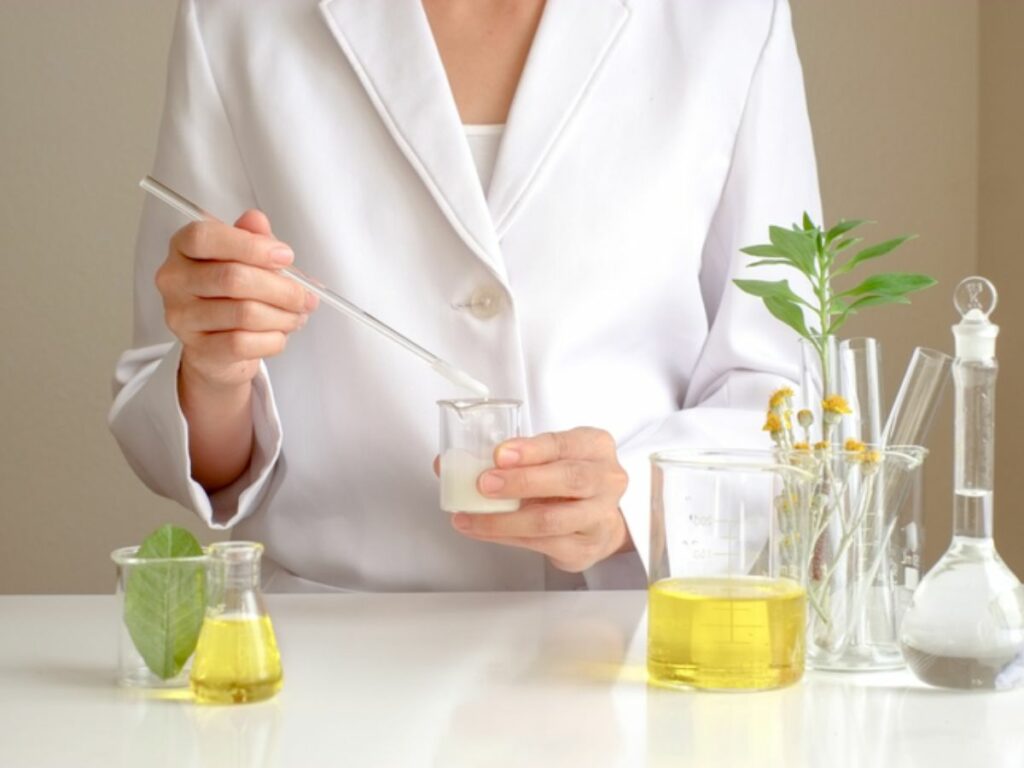
In the first step of body lotion production, preparing ingredients is key, focusing on precision and quality control to ensure the product’s effectiveness and quality. Here are some phases to keep in mind:
Sourcing
Firstly, sourcing the right ingredients is crucial in this endeavor. This involves procuring oils, butters, emulsifiers, preservatives, fragrances, and active ingredients. As per Soapqueen, selecting high-quality ingredients is key in lotion making, with water comprising 70-80% of the formula and oils and butters, about 10-25%. High-quality ingredients from certified suppliers are crucial for the lotion’s texture and effectiveness.
Testing for Purity and Efficacy
Upon receiving the ingredients, rigorous testing is essential. This includes checking for purity, potency, and any potential contaminants. For example, oils should be tested for rancidity, and active ingredients should be verified for their claimed potency. It’s a meticulous process, ensuring every batch meets the highest standards of quality and safety.
Pre-Processing Requirements
Some ingredients may require pre-processing before they can be used in the lotion. This step is crucial for ensuring that each ingredient is in the right state for effective blending. It is important to avoid excess heat to protect active ingredients and fragrances.

Step#2 Mixing and Emulsification
The second step in body lotion production, mixing and emulsification. This phase is where individual ingredients transform into a harmonious blend. Below are the process involved:
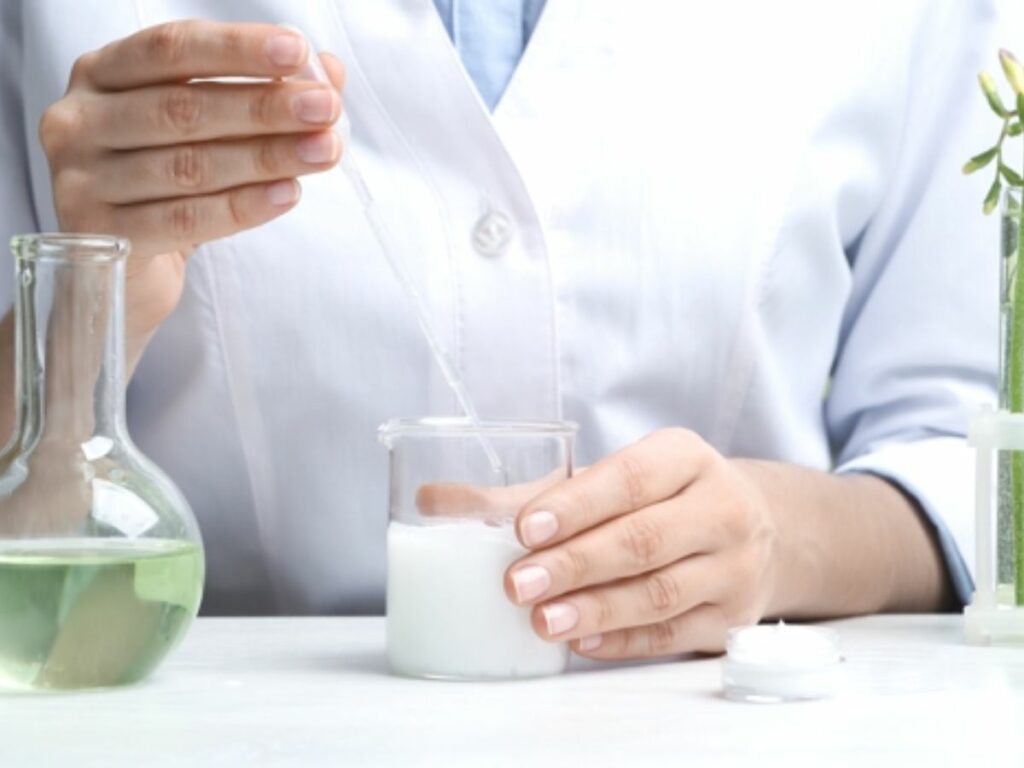
- Preparing the Base: Start by preparing the water and oil bases separately. Herbal extracts and glycerin mix in the water base, while essential oils and butters blend in the oil base. This segregation is crucial for effective emulsification later in the process.
- Heating: Heat both the water and oil bases to the same temperature, typically around 70-75°C. Consistent temperature is key for successful emulsification. At TY Cosmetic, meticulously monitor this stage to ensure optimal conditions for blending.
- Emulsifying: The core of this step is the emulsification process, where the oil and water bases are gradually mixed together. This is done using an emulsifier, a substance that helps blend oil and water, which would otherwise separate. The emulsifier choice greatly affects the lotion’s texture and feel.

- Homogenizing: Once the bases are combined, the mixture is homogenized. This involves high-shear mixing to ensure a uniform and stable emulsion. This step is critical in determining the final texture of the lotion, ensuring it’s smooth, creamy, and easily absorbed by the skin.
- Cooling and Adding Sensitive Ingredients: After homogenization, the lotion is allowed to cool. At this stage that temperature-sensitive ingredients like certain vitamins, fragrances, and preservatives are added. Adding these components at a lower temperature preserves their integrity and effectiveness.
Step#3 Heating Process
After completing of mixing and emulsification, the procedure moves on to the heating process, which is essential for product development. Here are the essential elements of these phases:
- Setting the Right Temperature: Set the ideal temperature for heating ingredients in lotion making, typically ranges between 70-75°C. Maintaining this temperature range is essential to protect heat-sensitive components and ensure proper melting and blending of base ingredients.
- Uniform Heating: Next, ensure uniform heating of all ingredients. This can be achieved using a double boiler or a specialized heating vessel with temperature control. Uniform heating is vital to ensure consistent quality and prevent hot spots that can harm ingredients.
- Monitoring Duration: The duration of heating should be monitored closely. Overheating can lead to the breakdown of essential nutrients in natural ingredients and alter the fragrance notes. Conversely, underheating can lead to incomplete melting or blending, impacting the lotion’s consistency.
- Heating Different Ingredients Separately: For this phase, some ingredients require separate heating. Remember, precision in temperature is key here. For example, thick butters and waxes may need a higher temperature to melt, while delicate herbal extracts might require gentler heating.
- Ensuring Safety and Consistency: Lastly, safety measures should be in place to prevent overheating. Using equipment with built-in thermostats can help maintain consistency in temperature and ensure the safety of the product and the person handling the process.
Step#4 Adding Active Ingredients and Fragrances
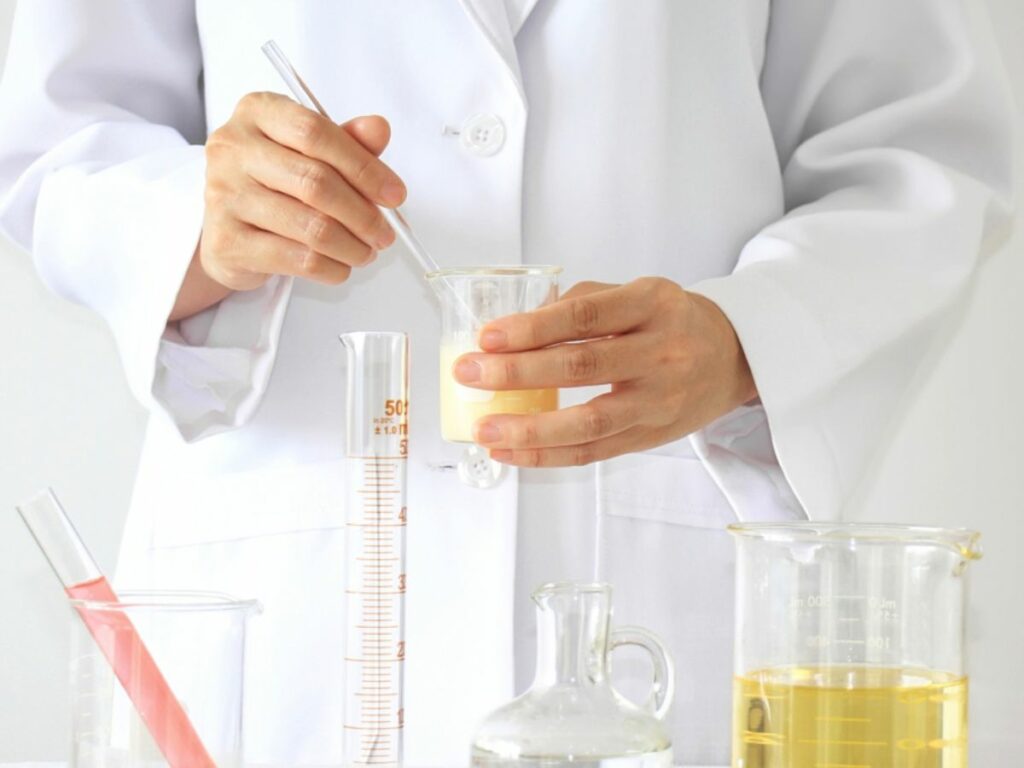
Following the heating process, the next step involves adding active ingredients and fragrances to the mixture to enhance its properties and sensory appeal. Here’s how it is done:
- Timing of Addition: First step, adding active ingredients and fragrances is best done after the base has been emulsified and cooled. This ensures that these sensitive components retain their integrity and effectiveness, as high temperatures during the earlier stages can degrade them.
- Precise Measurement and Consistency: For this step, accuracy in measuring active ingredients and fragrances is critical. It guarantees consistency in the product’s quality across different batches. For brands like TY Cosmetic, focus on precision to ensure each batch of lotion meets our stringent quality standards.
- Gentle Blending Techniques: Then to avoid damaging delicate ingredients, use gentle blending methods. This step ensures even distribution without compromising the efficacy of active ingredients or the integrity of fragrances.
- Understanding Ingredient Interactions: Next, it’s important to understand how active ingredients and fragrances interact with the base formula. Incompatibilities can affect the lotion’s stability, texture, or therapeutic properties, so thorough testing during the development phase is crucial.
- Quality Control and Testing: Once the ingredients are added, conduct thorough quality control tests. It’s vital to be meticulous in this stage to guarantee the best results. These include assessments of scent, texture, pH balance, and overall stability, ensuring the final product is harmonious and effective
Step#5 Homogenization and Refinement
Once active ingredients and fragrances have been added, the next stage in the process is homogenization and refinement, ensuring a consistent and smooth product. Here’s a discussion on its process:
- Implementing High-Shear Homogenization: The process begins with high-shear homogenization. This technique involves vigorously mixing the lotion to create a uniform consistency, essential for preventing separation between oil and water phases and ensuring a smooth texture.
- Monitoring Viscosity and Texture: During homogenization, it’s essential to monitor the viscosity and texture of the lotion. The goal is to achieve a balance where the lotion is neither too thick nor too runny, ensuring it is pleasant to apply and absorbs well into the skin.
- Refinement for a Polished Finish: After homogenization, the lotion undergoes refinement processes, which may include filtering or further stirring to remove any air bubbles introduced during mixing. This step enhances the lotion’s aesthetic appeal and ensures a smooth, consistent application.
- Stability Testing: Post-homogenization, stability tests are conducted to ensure the lotion remains uniform and effective over time. These tests check for any changes in separation, color, odor, and texture, simulating various environmental conditions the product might encounter.
- Final Quality Control: The last step in this phase is a comprehensive quality control check. Attention to detail is paramount here. This includes verifying that the lotion meets all specified standards, such as pH balance, microbial content, and overall performance criteria.
Step#6 Quality Control Testing
With homogenization and refinement complete, the focus shifts to quality control testing to ensure the final product’s efficacy and safety. Below are the processes to follow:
Testing for Physical Properties
Firstly, it involves testing the physical properties of the lotion, such as its viscosity, pH level, and texture. This ensures that the lotion is consistent in its feel and appearance, and is safe for skin use. Instruments like viscometers and pH meters are used for precise measurements.
Stability Testing
Secondly, subjecting the lotion to various environmental conditions to test its stability. Emphasizing thorough environmental testing underscores a commitment to enduring quality. The lotion is monitored for changes in color, separation, and texture over time, under different temperatures, light, and humidity levels, to ensure it maintains quality throughout its intended shelf life.
Microbiological Testing
Thirdly, ensure the lotion is free from harmful bacteria and other microbes is crucial. Samples from each batch are tested in a lab to check for microbial contamination. This step is vital for consumer safety, especially for products that claim to be preservative-free or have natural ingredients.
Allergy and Skin Irritation Tests
Next to ensure the lotion is safe for use, it’s tested for potential skin irritants and allergens. This is typically done through patch tests on human volunteers in controlled settings. It’s important that the product is hypoallergenic and non-irritating to suit a wide range of skin types.
Performance Evaluation
Finally, the lotion undergoes performance evaluation. This includes testing how well the lotion moisturizes, absorbs into the skin, and any other specific claims like anti-aging or brightening effects. These tests help validate the product’s efficacy and marketing claims.

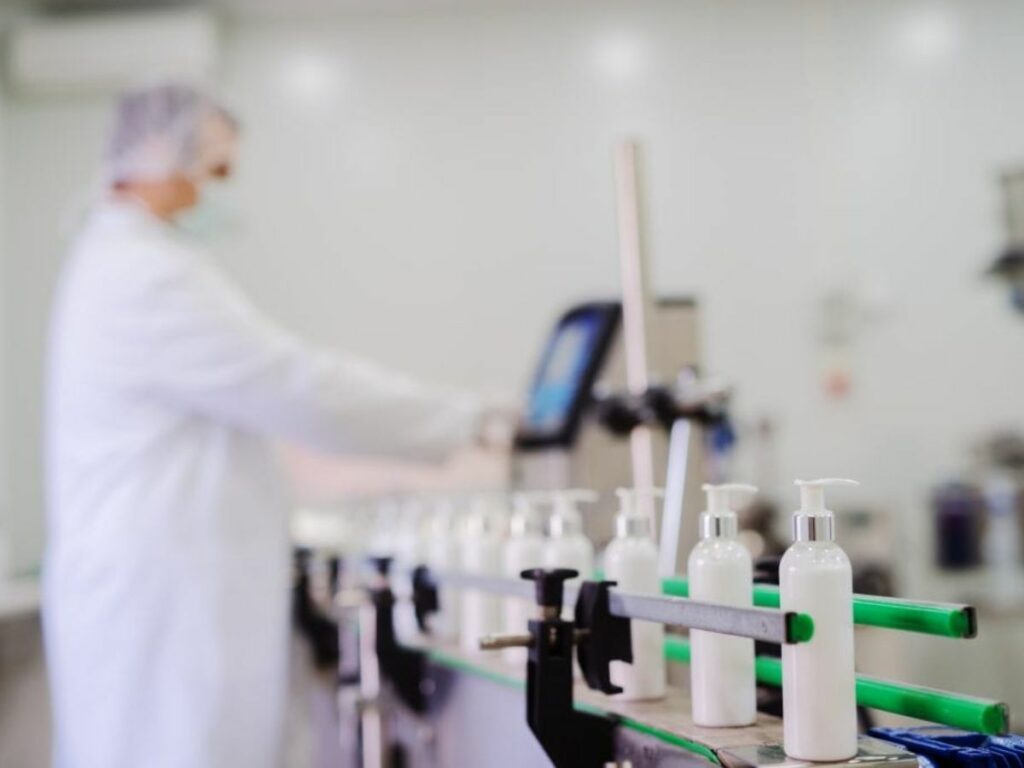
Step#7 Filling and Packaging
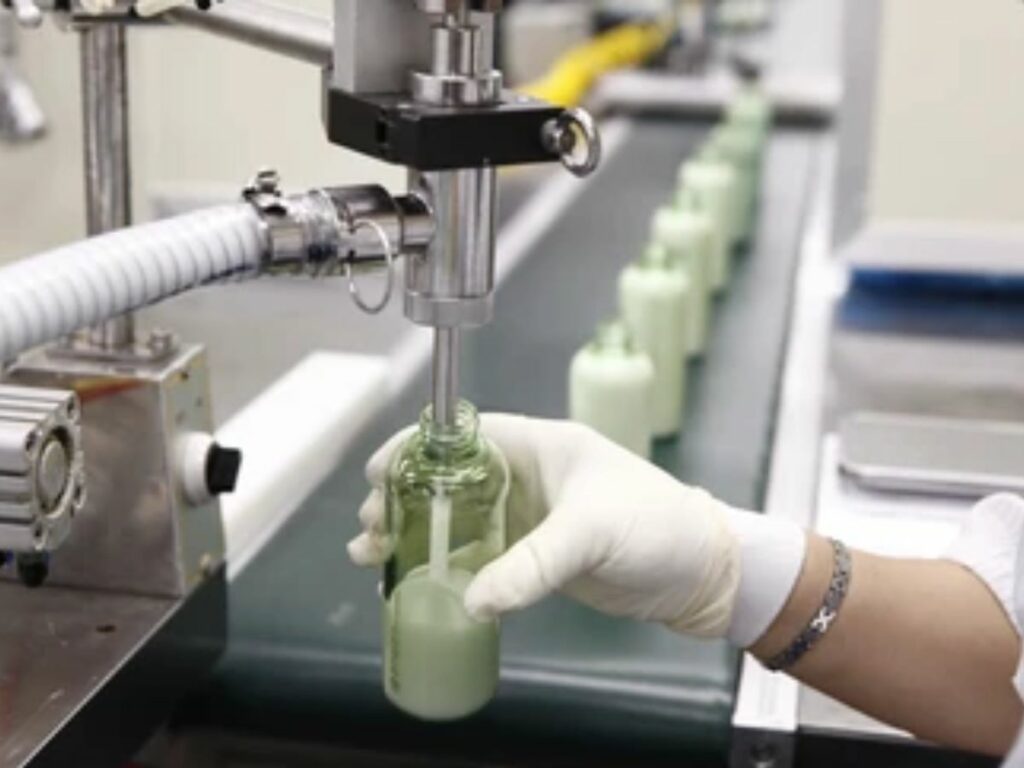
Having the completion of quality control testing to ensure product excellence, the next step in the process is filling and packaging, where the product is prepared for distribution. See the following:
- Choosing the Right Packaging: Selecting appropriate containers is the first crucial step. Packaging must not only be aesthetically pleasing but also functional and compatible with the lotion’s formula. Materials like glass or metal are chosen based on the lotion’s composition, brand image, and customer preference.
- Setting Up Filling Equipment: Implementing efficient and precise filling equipment is essential. This machinery must be calibrated to fill each container with the exact amount of lotion, ensuring consistency across all products.
- Ensuring Cleanliness and Sterility: During filling, maintaining a clean and sterile environment is vital. Ensuring cleanliness at this stage is essential for product purity. This step prevents contamination of the lotion, guaranteeing the product’s safety and effectiveness until it reaches the consumer.
- Labeling and Branding: Once filled, containers are labeled with brand and product information, including ingredients, usage instructions, and expiration dates. This step is also an opportunity for branding, making the product visually appealing and informative for the consumer.
- Final Quality Checks and Sealing: The final step involves conducting quality checks on the packaged lotion, ensuring that each unit is filled correctly and labeled accurately. After passing these checks, containers are sealed to preserve the lotion’s quality and extend its shelf life.
Step#8 Labeling and Batch Coding
Building upon the filling and packaging phase, the subsequent stage in manufacturing is labeling and batch coding, a critical step for quality control and distribution. Here are some key steps in labeling and batch coding:
Designing Informative and Attractive Labels
The first step is designing labels that are both informative and visually appealing. Labels should clearly display the product name, brand, ingredients, usage instructions, and any necessary warnings. They also serve as a marketing tool, reflecting the brand’s identity and appealing to the target audience.
Adhering to Regulatory Requirements
Labels must comply with regulatory requirements, which vary depending on the region. This includes listing ingredients in a specific order, displaying manufacturing and expiration dates, and including any required certifications or disclaimers.
Implementing Batch Coding
Batch coding is crucial for tracking and quality control in manufacturing, marking each product with details like manufacturing date and batch number. This process not only ensures compliance with legal requirements but also facilitates product traceability through the supply chain, which is essential for recalling products efficiently if issues arise.
Quality Checks for Accuracy and Legibility
Once labels and batch codes are applied, a thorough quality check is conducted. Precision in labeling reflects the dedication to detail. Ensuring every label is flawless represents a commitment to clarity and transparency. This process guarantees that all labels are accurate, legible, and properly affixed, and that batch codes are correctly printed and easily readable.
Step#9 Final Inspection
After the labeling and batch coding process, the products undergo a final inspection to ensure they meet all quality and safety standards before being released to the market. Here are crucial guides to follow:
- Visual Examination for Packaging Integrity: The process begins with a visual examination of each packaged lotion. Inspectors check for packaging defects like cracks, leaks, or poor seals that could affect product quality and shelf life, and verify appearance aligns with brand standards.
- Verification of Labeling and Batch Coding: Once labels and batch codes are applied, a thorough quality check is conducted. This process ensures labels are accurate, legible, properly affixed, and batch codes are correctly printed and readable.
- Random Sampling for Quality Consistency: Next, random samples from each batch are selected for a more in-depth quality check. These samples undergo tests to confirm consistency in texture, fragrance, and color, ensuring that every bottle meets the established standards for the product.
- Documentation and Record Keeping: Lastly, detailed records of the inspection process are maintained, including the results of the checks and any actions taken in case of non-compliance. This documentation is crucial for traceability and future reference, should any quality concerns arise.

Step#10 Storage and Distribution
Having cleared the final inspection stage, the process now moves to the final stage of body lotion production, storage and distribution, where products are readied for market release. Below are the steps that need to follow:
- Optimizing Storage Conditions: Begin by, body lotions should be stored in a cool, dry place, away from direct sunlight and extreme temperatures, which can affect the product’s stability and shelf life. The storage environment must be regularly monitored for temperature and humidity.
- Efficient Inventory Management: Proper inventory management is essential to ensure a smooth supply chain. This includes keeping track of stock levels, batch numbers, and expiration dates. Efficient inventory management helps in timely distribution and reduces the risk of having expired or overstocked products.
- Secure and Safe Transportation: When distributing the lotions, it’s important to choose transportation methods that protect the products from damage and environmental factors. Packaging should be secure enough to withstand transit conditions and prevent leakage or contamination.
- Compliance with Regulatory Standards: During distribution, it’s crucial to comply with regional and international regulatory standards. This includes adhering to transportation laws, safety protocols, and customs regulations, ensuring that the product legally and safely reaches its destination.
| Aspect | Description |
| Ingredient Regulations | Ensuring all ingredients used in the body lotion comply with FDA (or relevant authority) regulations. This includes restrictions on certain chemicals and mandatory safety testing for allergens and irritants. |
| Labeling Requirements | Adhering to strict labeling guidelines, including listing all ingredients, providing usage directions, and displaying any necessary warnings. Labels must also accurately reflect any claims made about the lotion (e.g., “moisturizing”, “hypoallergenic”). |
| Product Testing | Conducting comprehensive safety and efficacy testing as required by regulatory bodies. This includes dermatological testing for skin irritation and long-term stability testing to ensure the lotion remains safe and effective throughout its shelf life. |
| Manufacturing Standards | Following Good Manufacturing Practices (GMP) as set by regulatory agencies, which cover the cleanliness, staff training, equipment maintenance, and quality control processes in the manufacturing facility. |
| Packaging Compliance | Using packaging materials that are safe, non-reactive, and compliant with environmental regulations. Packaging should also meet child safety standards if applicable. |
| Export Compliance | For international distribution, ensuring that the body lotion meets the regulatory requirements of each target market, which may have different standards and guidelines compared to the manufacturing country. |
| Claims Verification | Substantiating any health or wellness claims made about the body lotion with scientific evidence or clinical studies, as required by regulatory agencies. |
| Record Keeping | Maintaining detailed records of all manufacturing processes, ingredient sourcing, product testing, and compliance checks. These records should be readily available for regulatory inspections or audits. |
| Environmental Impact | Ensuring compliance with environmental regulations, including waste management and emissions from the manufacturing process. This may also include following guidelines for eco-friendly packaging. |
| Periodic Review and Updates | Regularly updating policies and practices to stay aligned with changes in regulatory standards and advancements in cosmetic science and manufacturing technology. |
Dive Deeper Into Our Resources
Interested in discovering more? Gain instant access to our diverse range of products:
- Private Label Body Care
- Private Label Men Care
- Private Label Skincare Kit
- Private Label Mom & Baby Care
Still haven’t found what you’re looking for? Don’t hesitate to contact us. We’re available around the clock to assist you.
Conclusion
Body lotion manufacturing is a process that combines artistry and science at every step, ensuring the creation of a product that meets the highest standards of quality and effectiveness. This guide aims to shed light on each crucial stage, offering insights that can enhance the manufacturing process and product quality.
Looking for assistance in bringing their body lotion concepts to life, TY Cosmetic offers unparalleled expertise and support. For any questions or guidance, our team is just a contact away – reach out to us anytime!